

Reflections made quick and easy
Nothing shows off your chops better in Photoshop than creating a reflection. They can be very artistic and bold, or they can look like they belong there.
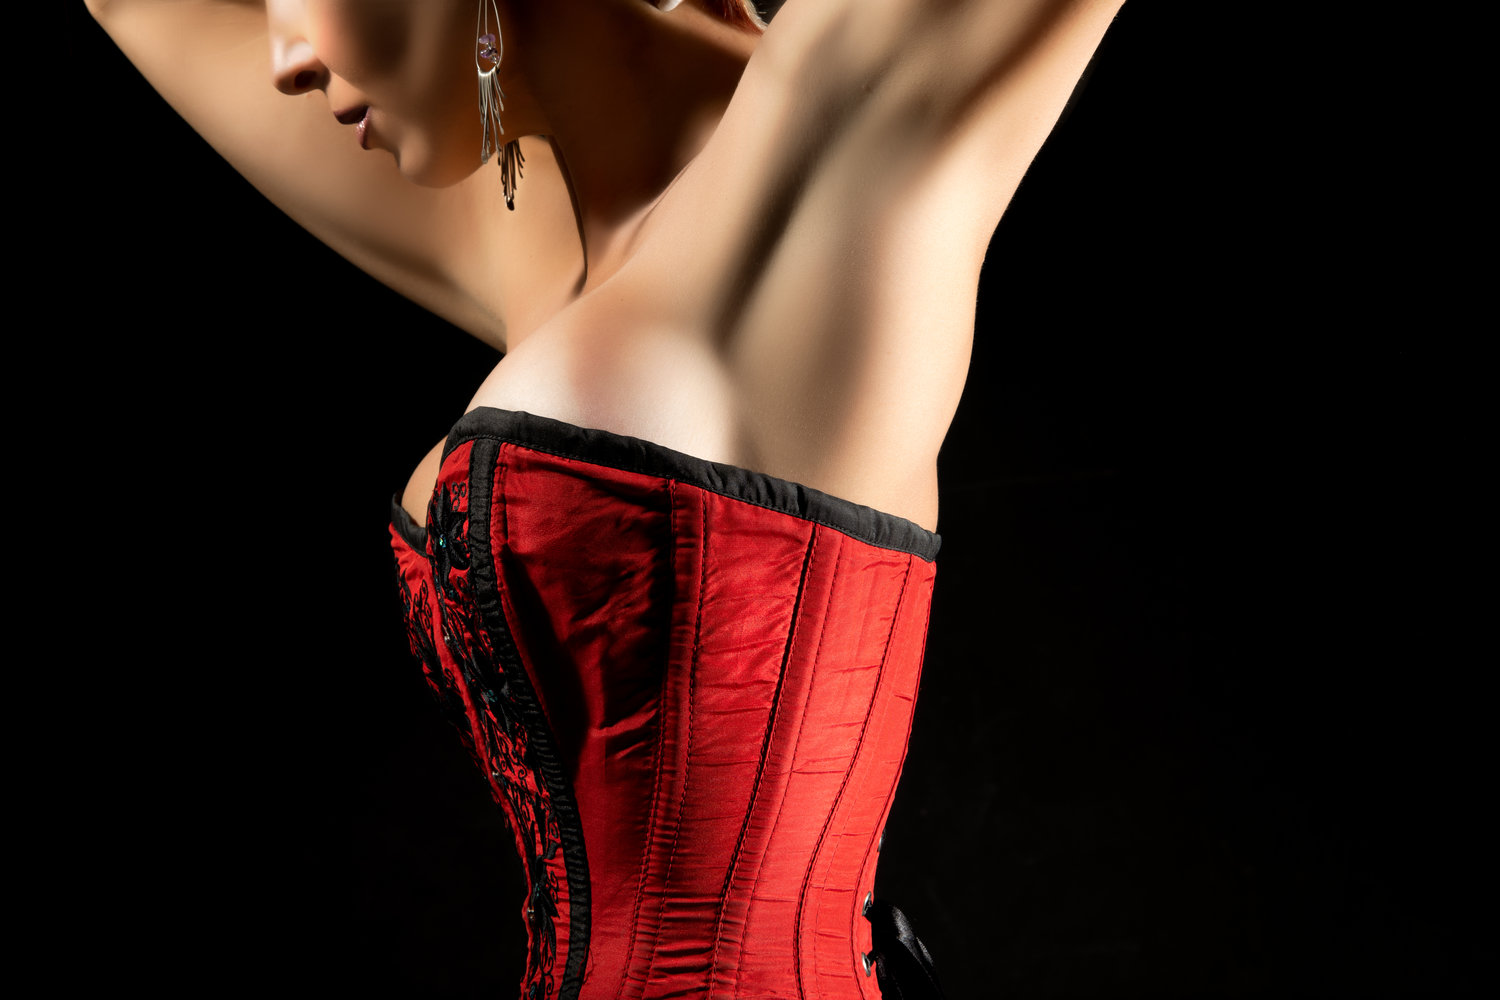
I have two names for them. The real ones, the ones that the camera picked up, are…well…real. The ones we create in ‘Shop are surreal. In the video I talk about both. The two on the left are both surreal because I made them up. And they are pointed squarely into the art side. The top one, isn’t really even the same picture. I think this was one of my first ones years ago and I’ve loved the ‘look twice’ that people have to do to realize it’s not a real reflection. Easy to shoot. Tell the model to simply turn her head or something else minor after you take the first picture, then grab the second.
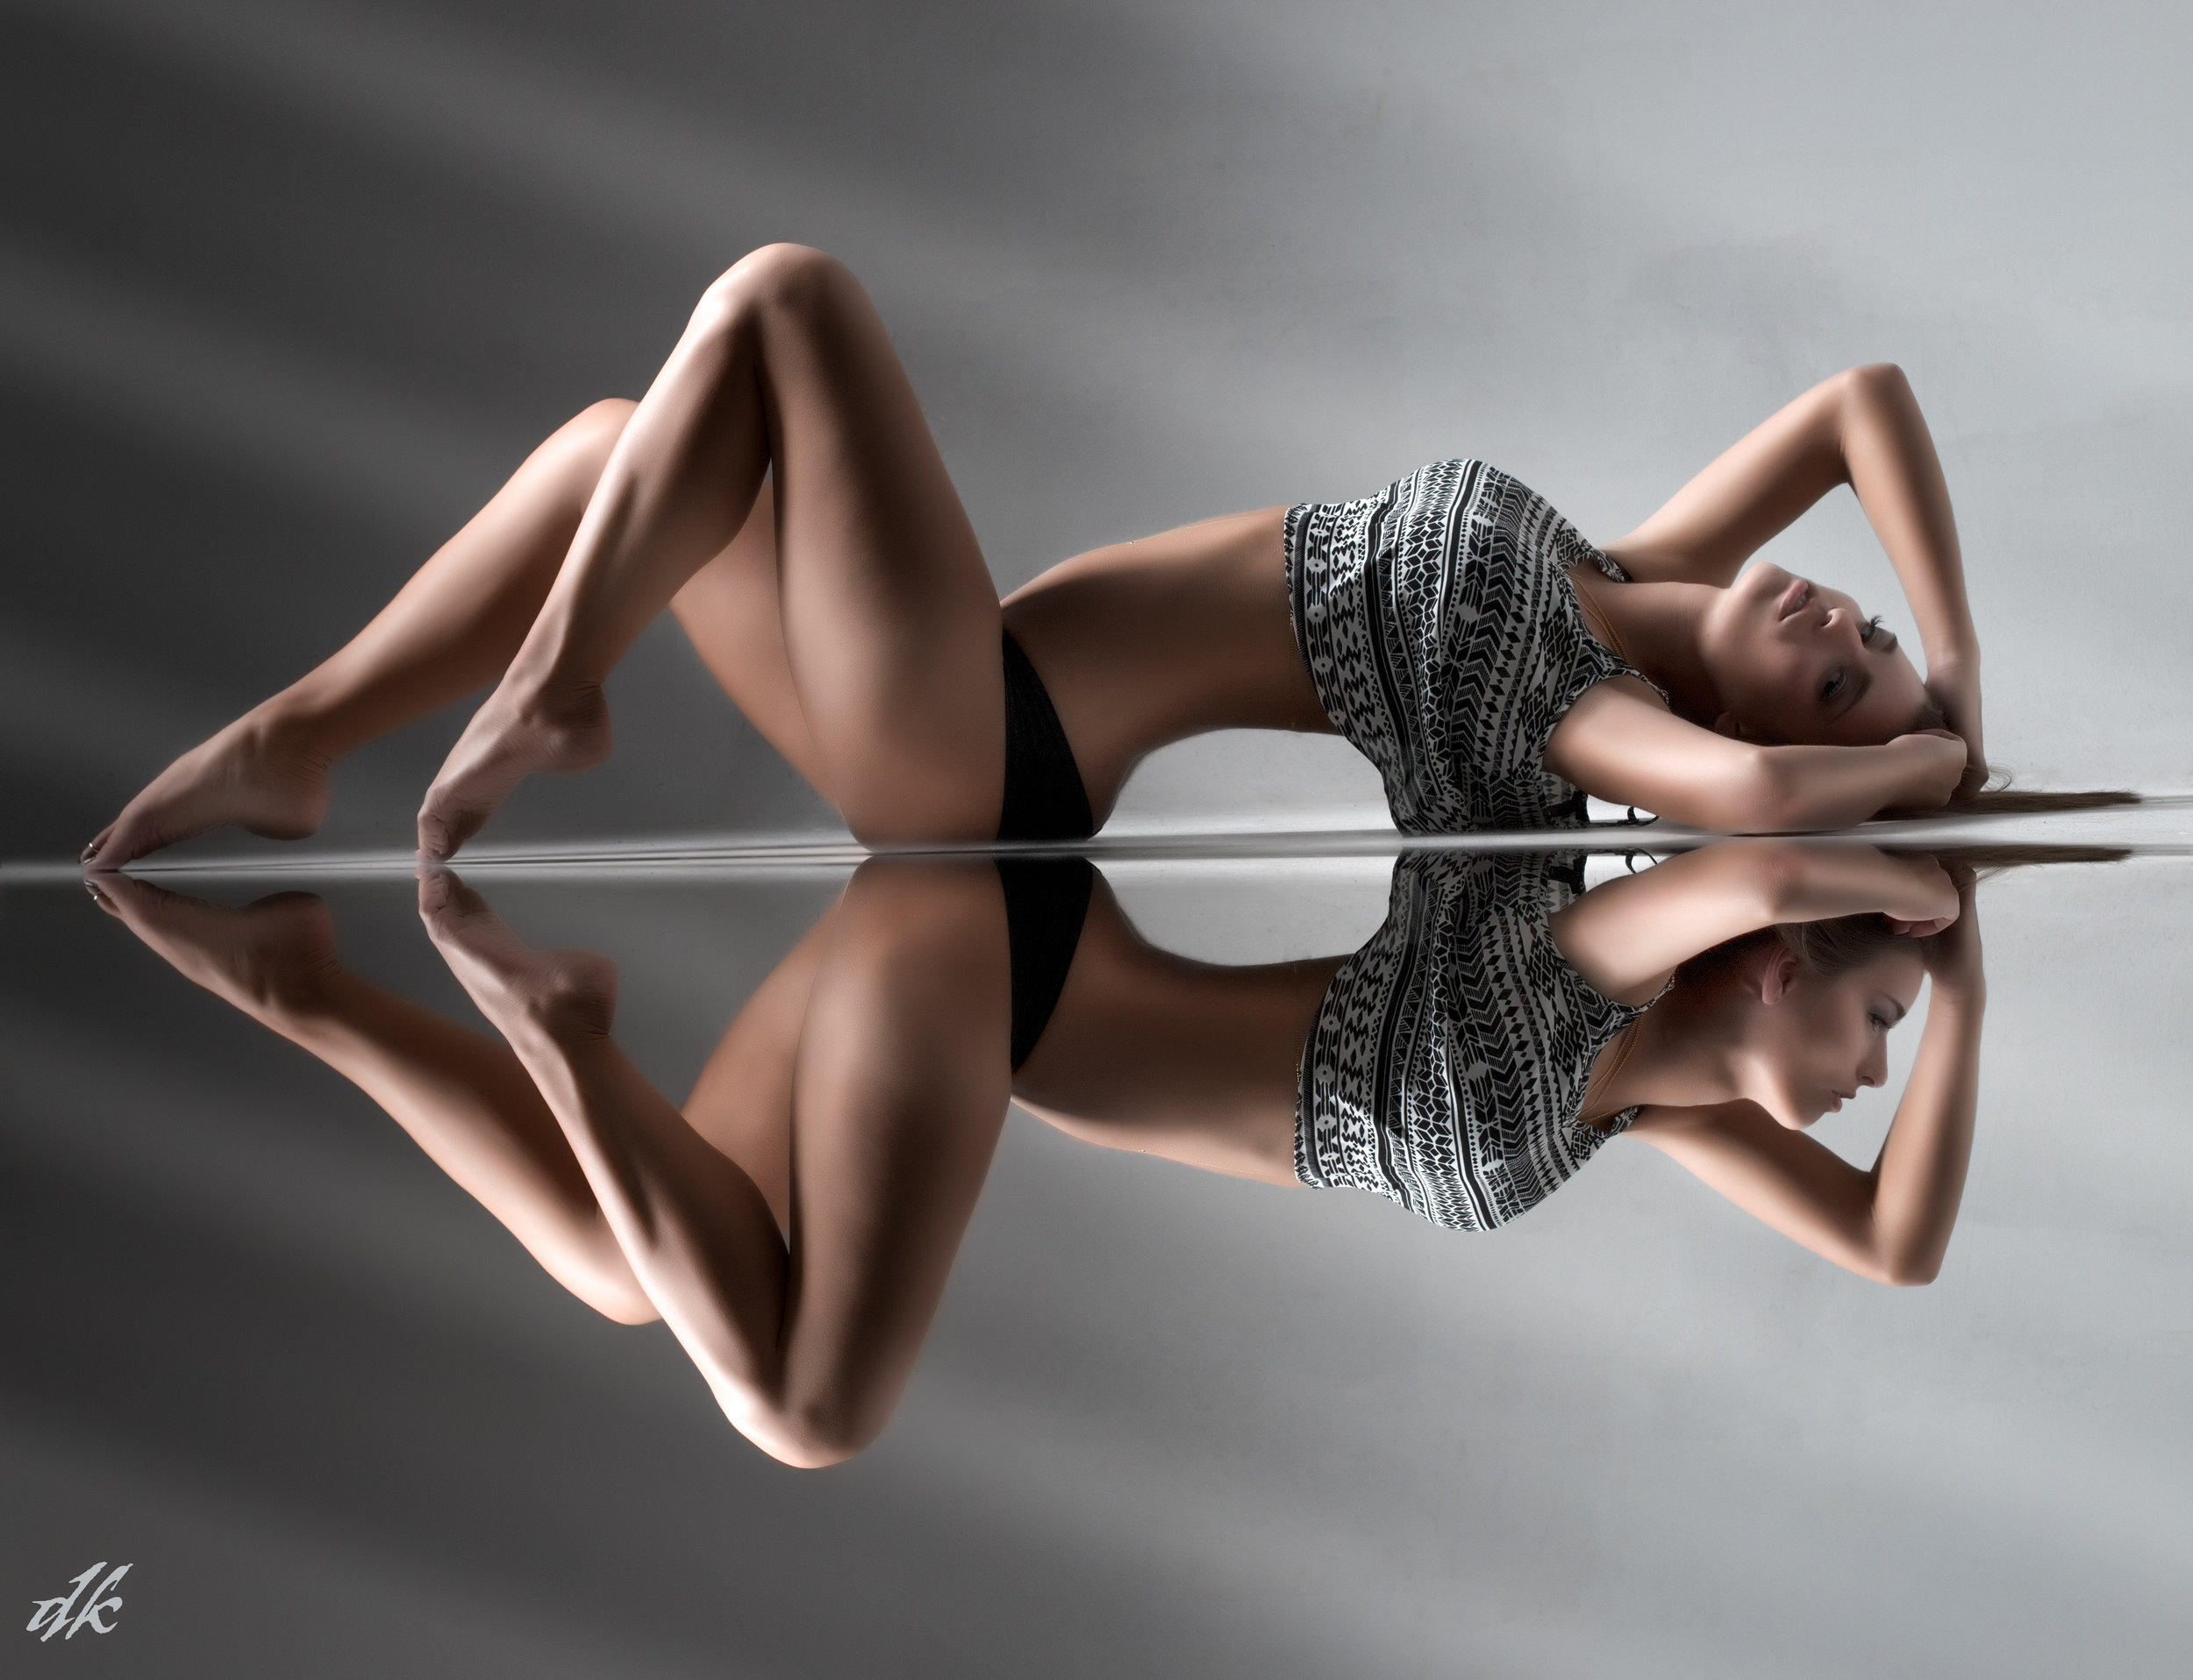
The lower one is obvious because one is color and the reflection is B&W. Actually, without the logo on it you could hang this one upside down and just get another twist on the art.
To shoot reflections you have to be flat on the ground. Camera actually laying on the ground is what you need because that like that connects them has to be as close to flat as possible. If you can’t draw a pretty defined line in your mind to mirror against it’s going to be really hard to make it look real.
NOTE!! One little thing you need to do that is missing in the video. When setting the new ratio for an image by selecting ‘Ratio’, you need to set the length and width to blank…no numbers. Then you can free wheel it to longer but now wider.
Check out the video. And try some of your own. Just remember… To really get good at something you have to fail at it a lot. It’s the process. Play, start over, and get that needed experience.